Graffiti Mobile Device Management - Adding a New Mobile Unit
Adding A New Mobile Unit - Login
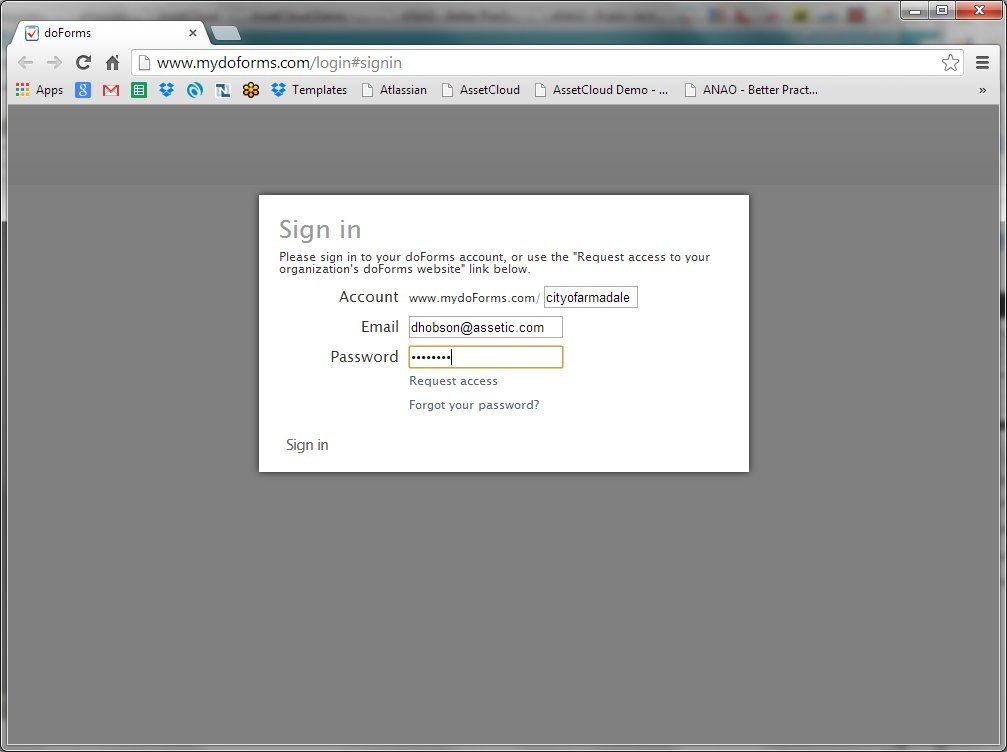
To add a new graffiti data pickup unit you first need to login to your doForms account.
http://www.mydoforms.com/login
Then navigate to the Mobile Units tab.
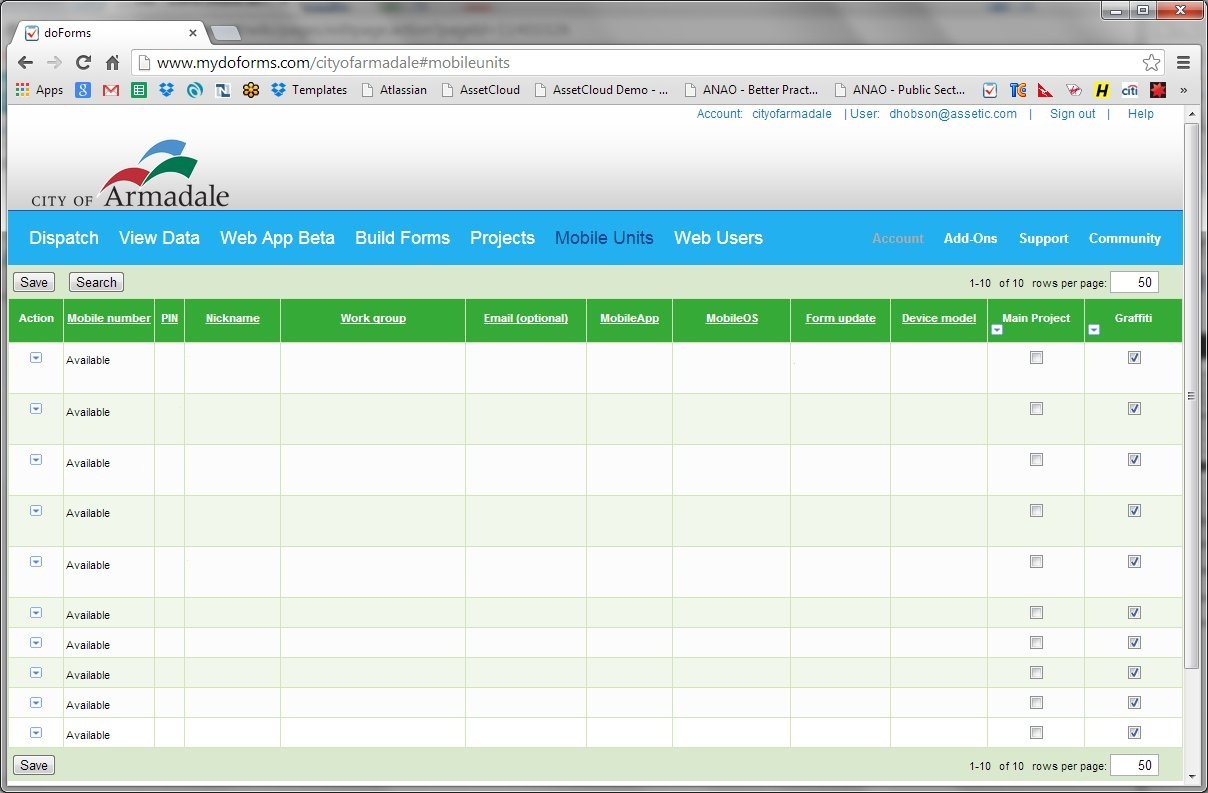
You will notice that initially, only ten units are able to be added. To increase this number, discuss with an Assetic consultant.
Layout
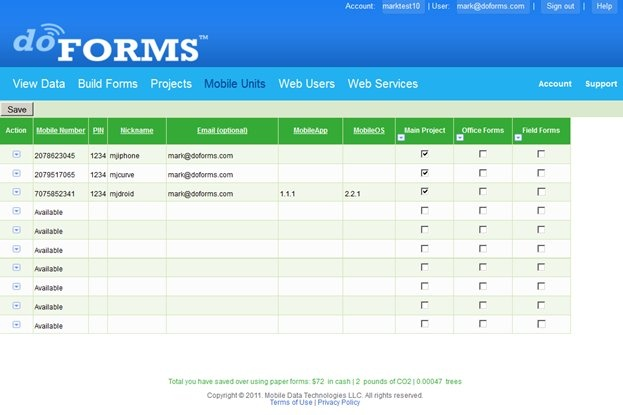
The Mobile Units tab is the place where you manage which mobile units will be connected to your doForms account, as well as which projects (and their respective forms) will be available on which mobile units.
The rows in the Mobile tab represent each mobile unit. The number of rows displayed will match the number of mobile units supported by your account. Free doForms account supports just one mobile unit, so you will see just one row. A doForms-20 account supports twenty mobile units so you will see 20 rows. A doForms-100 account supports one-hundred mobile units so you will see 100 rows, etc. Your doForms Administrator can add rows for additional mobile units at any time by upgrading your current plan using the Account tab.
Mobile Number and PIN
The first and second columns provide the “Mobile Number” and “PIN”. Both MUST be entered into the Mobile Units tab in order for those mobile devices to be “connected” to you doForms website. Each time the doForms application is stated on a mobile device, it connects to the Internet and checks the information in the Mobile Units tab to see if it is still allowed to “connect” to your doForms website, and if so, which projects it needs to synchronize with. If it cannot find its Mobile Number and PIN in this list it will not connect to the website. So the information entered here must also be provided to the user of the corresponding mobile unit. They will be asked to enter this exact same Mobile Number and PIN when setting up doForms on their mobile unit.
Note: The mobile numbers and PINs must match those entered into corresponding mobile devices.
Columns
Mobile Number – The mobile number will most likely be the 10-digit telephone number of the mobile device. If the device is a PC or tablet with no phone, the mobile number may be any 10-digit number.
PIN – The PIN can be any 4-digit number. We recommend using a different PIN for each mobile number. The number of mobile devices that you will be able to setup will correspond to your account level.
Nickname – Provides a “Nickname” for the mobile unit. This value is provided by the user of the mobile device and cannot be edited here.
Email (optional) – Provides an optional email address for the user of the mobile device.
MobileApp – Provides the version number of the mobile application installed on the corresponding mobile device. This will automatically be filled in when doForms is set up on the mobile device. You do not need to enter this information. The presence of this information will tell you that doForms have been successfully set up on the corresponding mobile device.
MobileOS – Provides the Operating System information of the corresponding mobile device. This will automatically be filled in when doForms is set up on the mobile device. You do not need to enter this information. The presence of this information will tell you what type of device this is and what its OS version is. This is very useful for technical support purposes.
Projects – See Projects section.
You can sort the table alphabetically by clicking on any of the underlined column headings. This is useful if, for example, you wish to see which mobile units use a particular MobileApp or MobileOS.
Be sure to click Save to save any changes.
Add a New Device
Click the small arrow on the left-hand side of the first available row and Select Edit from the list
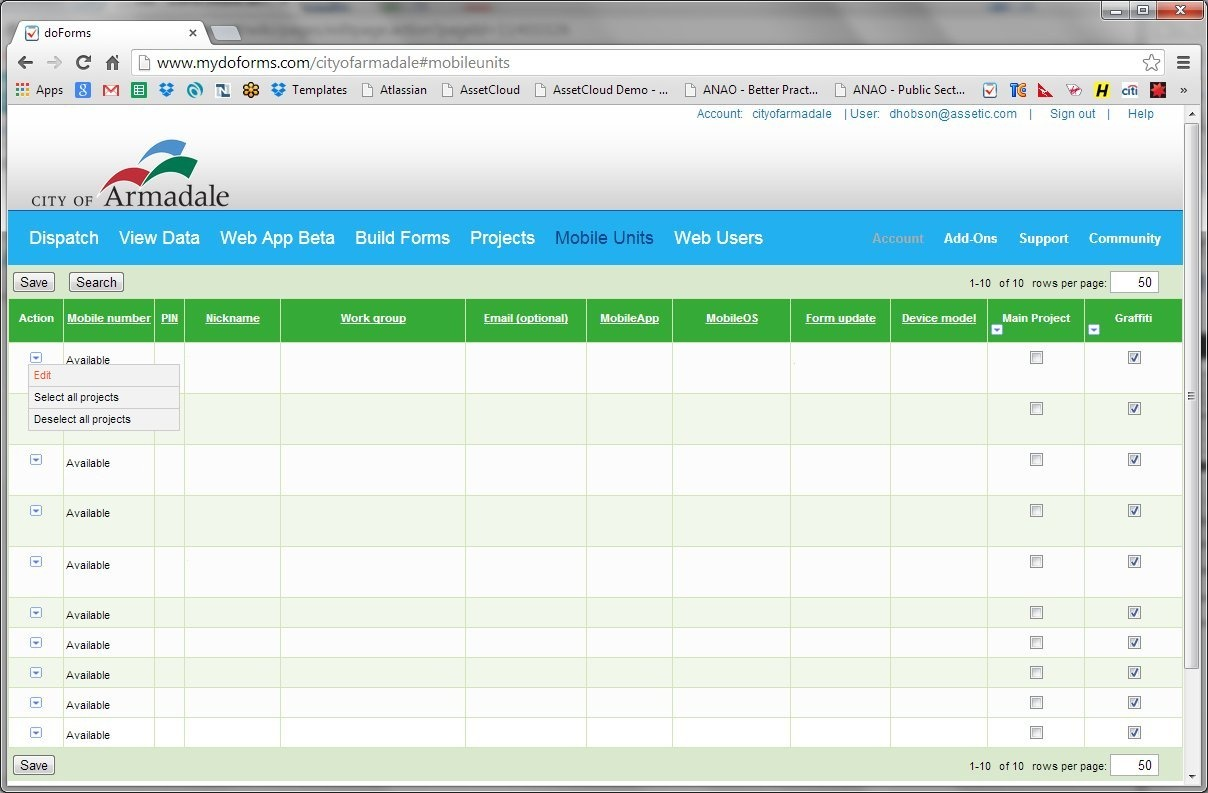
Row Menu
The Row Menu provides the following functions:
Edit – To assign a Mobile Number, PIN and contact email to an available row, or to change an already assigned value, click Edit in the Row Menu. The row will expand allowing you to change certain fields. Click Change when done. Otherwise, press Cancel.
Delete – To delete a Mobile Number and PIN from a row, click Delete in the Row Menu. A message will be displayed asking you to confirm the delete. Click OK. Otherwise, press Cancel.
Send Email – Sends an email to the mobile user containing their Mobile Number and PIN settings.
Select all projects – Use Select all projects from the Row Menu to subscribe all projects to this mobile unit. If all the projects are selected, this Row Menu option changes to Deselect all projects which can be used accordingly.
Be sure to click Save to save any changes.
IMPORTANT: Note that when a new project is added, it will NOT be automatically assigned to any of the mobile units. You must explicitly do so either by clicking the checkboxes individually or by using the Column Menu to Select all mobiles. If all the projects are selected, this Column Menu option changes to Deselect all mobiles which can be used accordingly. Also, remember that the 'Main Project' is automatically added to all mobile units.
Enter the information for your device:

Add subsequent devices as appropriate.